
Getting Started: Create at least one sample Client
Definition
A Client in PantrySoft is basically a household. For Users with an Org or Admin login (as opposed to Users assigned to the Kiosk interface), this record and all its associated records are represented on a single screen called the Dashboard Screen. This article will show you how to modify Client records in the Dashboard interface.
Because a Client record is the root record for your customers in the app, it "owns" or "has" household members, registration events, visit events, and its address. In reports and elsewhere, Client records are usually "named" after the primary household member, which is the person at the top of the Household Member widget in the dashboard's center column. Clients must always have a primary household member, who is given a relationship of "Self." In the Dashboard interface, a Dashboard screen loaded with a Client record contains separate widgets for all of the associated records mentioned above.
"Loading", "Remembering", and "Abandoning" Clients on the Dashboard Screen
The Dashboard screen in PantrySoft will let you "load" a Client record, and afterwards it will "remember" this choice when you return to the screen. This section covers how to load a Client record, save that record, and clear the Staff Dashboard.
"Loading" a Client

Assuming some Clients have already been entered into your system, the first and most basic act for intake staff or volunteers will be finding a client and loading them into the Staff Dashboard. When first logging in, a user will see a Staff Dashboard— a search bar just beneath the menu and nothing else (see figure above). From here, you can load a client into the Staff Dashboard with the search bar.
Here's how to find and load a client:
- Access the Client Search Bar
Click on the Search For Client field. - Type Your Query
Enter the client's data. Phone number, address, first and last name of any household member or proxy, and account number if you use them. - The App Will Offer Suggestions as You Type
- Click the suggestion. Clicking on a suggestion will load that client.
- One suggestion left. Hitting Enter or clicking Search when only one suggestion remains will load that client.
- More than one suggestion. Hitting Enter or clicking Search when more than one suggestion remains will load an entire index of relevant search results. Choose one and click Enter to load that client.
In-App Client Links. Hyperlinks to other clients (for instance, on some of our client reports) will route you to the Staff Dashboard and load the new client into it. This "forgets" the former client-choice.
"Remembering" a Client
Remembering a Client in dashboard mode is automatic. After loading a client, PantrySoft will remember which client you've selected and keep that client loaded into the Staff Dashboard until you choose to look at another. If you click on the PantrySoft logo in the top left corner, it will return you to the same client you last chose.
"Abandoning" a Client
If you need to clear the Staff Dashboard of all client information, navigate to Pantry->Client Search. This will clear the client from the session and give you a fresh start.
Creating Client Records
This section covers how to record a new client's information, as well as how to edit records for existing clients.
Perform the following steps to create a new user and choose its role(s):
- Load the Staff Dashboard
Navigate to Pantry->Client Search or otherwise pull up the Staff Dashboard. - Create a New Client
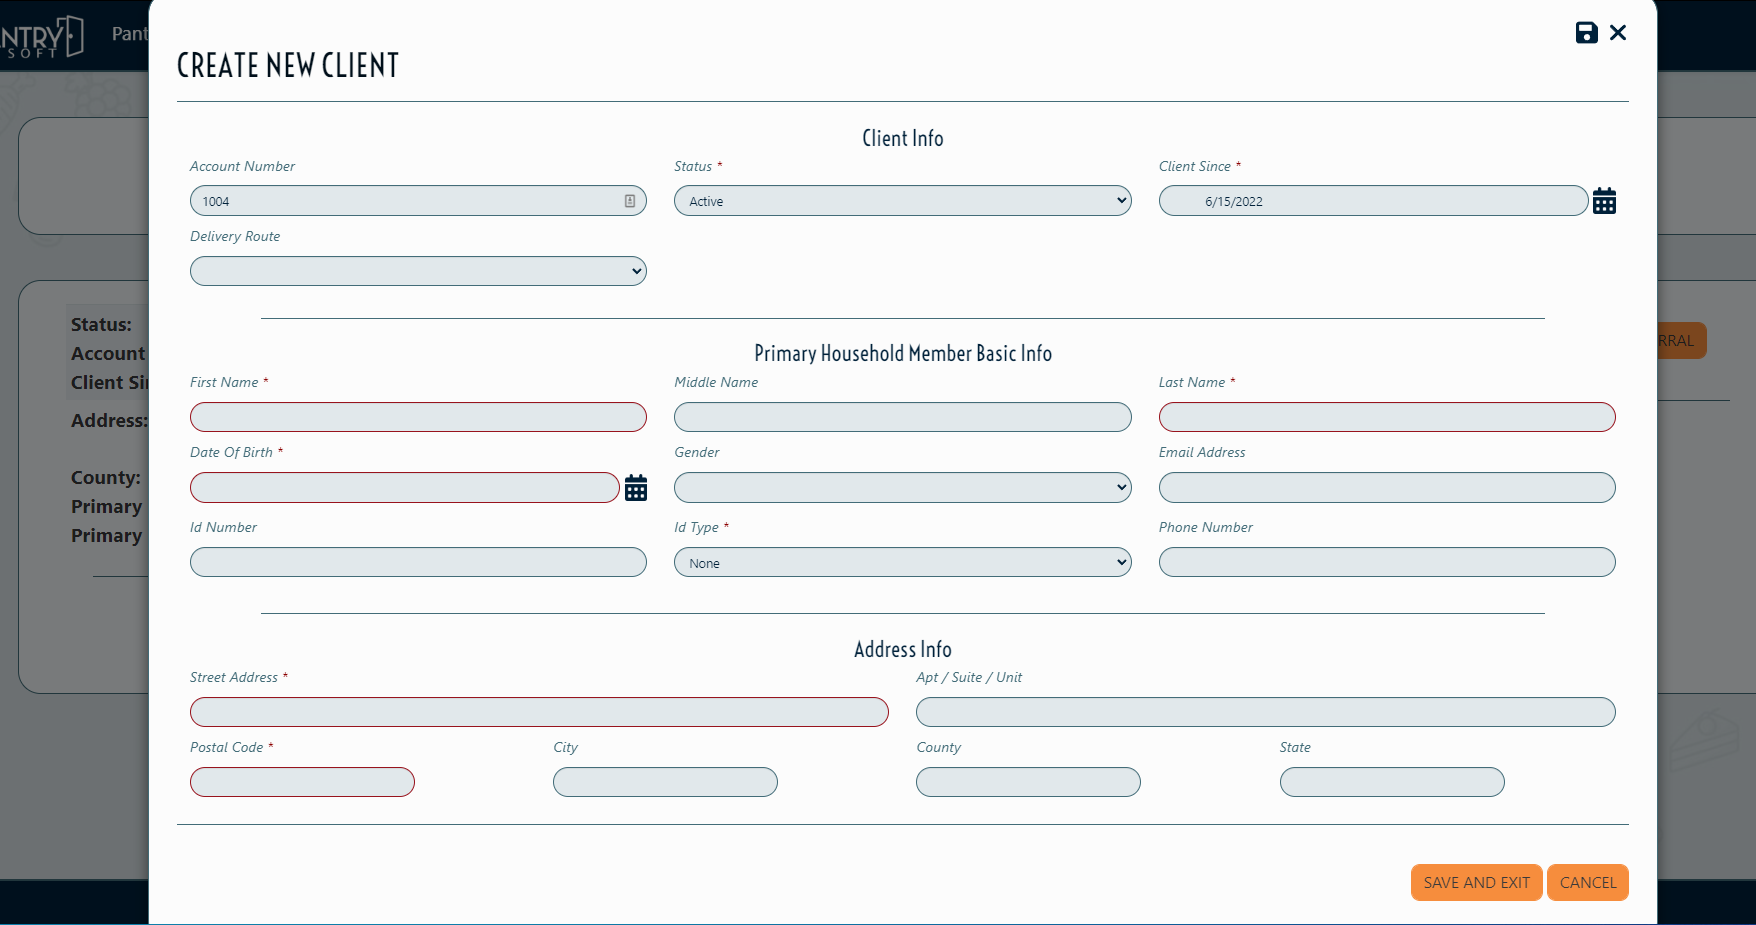
Click on New Client. This pops up a Create New Client window. - Enter the Primary Household Member's Information (see aside below for an explanation of a "Primary" Household Member)
Fill out any required fields, which can include: First, Middle, and Last Name, Birth, Gender, ID Fields, Phone Number, and Email Address. - Enter Household Information
Fill out any required fields: Street Address, Postal Code, City, County, State, Account Number, Client Since.
NOTE: Barcodes as Account Numbers. To use a pre-printed bar code as the client's account number, put your cursor into the Account Number field and scan the physical bar code with a bar code scanner (this step requires that you purchase and set up a scanner for this purpose). The code will automatically appear in the field, and from here on, you'll be able to scan the barcode to find this client again in the PantrySoft client search. - Save the Entry
Click Save and Exit. This will close the window and reload the Staff Dashboard with the specifics for the new client and household member.
Client and its Primary Household Member. PantrySoft takes the information you provide in the New Client pop-up and creates two related objects: a Client (the entire household), and a Primary Household Member. Client records cannot exist without at least one household member; there are no "empty" clients/households.
Editing a Client
PantrySoft uses the information you entered in the New Client process to create a number of "widgets" on the Dashboard Screen (i.e., PantrySoft created a Household Member widget for the primary member, an Address widget, and a core Client info widget for info like Account Number and Status). This section will show how to modify those records specific to the Client record itself.
(NOTE: To learn how to modify a Client's roster of Household Members, Proxy members, and other optional records like Documents, search for specific articles here in our Knowledge Base.)
Editing Core Attributes
Perform the following steps to edit a client’s core attributes:
- Load the Staff Dashboard
Navigate to the Staff Dashboard. - Access the Client
Load the target client into the Staff Dashboard. - Access the Client's Record
Click the pencil icon to the right of "Client Since". This will display the Client Edit pop-up.
- To "Deactivate" a Client
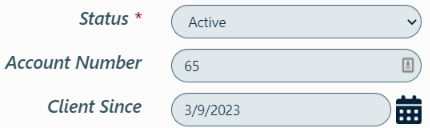
If you want to retire the client so they no longer appear in client searches (but their past activity remains open to reporting ), change the Status to Inactive. - Make Any Needed Edits
Adjust Account Number or Client Since as desired. - Save the Changes
Click Save and Exit.
Missing Attributes? If you're attempting to change something not covered in this section, consider that the attribute you're looking for may belong to another record which you would change in its own Staff Dashboard widget. For instance, Household Members "own" their own phone numbers or email addresses, so that information is in the Household Member widget. Custom questions that rightly "belong" to the entire household are usually located in Registrations.
Editing a Client Address
Perform the following steps to edit the client’s address:
- Load the Staff Dashboard
Navigate to the Staff Dashboard. - Access the Client
Load the target client into the Staff Dashboard. - Access the Client's Records
Click the icon to the right of "Address"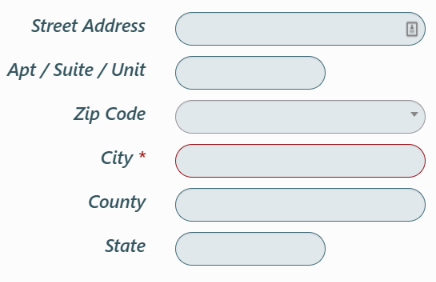
- Make Any Needed Edits
Adjust address fields as necessary. - If You Were Simply Correcting a Mistake in the Address
Click Save Correction. - If the Client Moved
Click Save New Address. This “retires” the address but makes it available to historical reports.
Deleting a Client
Perform these steps to permanently delete a client's records:
WARNING: Do not perform this operation unless absolutely necessary (See explanation below)
Deleting a client is more involved than deleting other PantrySoft records because clients are the central record to which all other records are attached (i.e., a Client “has” proxies, household members, visits, etc.). Deleting a Client means deleting all its attached records. This will erase its presence in the past (i.e., visit reports will no longer account for a deleted client’s visits). To ensure the user is aware of the implications behind deleting a client, you must first delete its attached records manually.
To delete a client, first, delete all of its attached records:
- Delete Client Household Members except for the Primary Household Member
(NOTE: You cannot delete the primary household member manually, but it will be automatically deleted with the last of the final series of steps.) - Delete Client Notes
- Delete Client Proxies
- Delete Client Visits
- Delete Client Appointments
- Delete Client Registrations
Perform the following steps to delete the client once all the client’s attached records have been deleted:
- In the Client's Record, Click On the Edit Client Icon to the Right of Client Since:

- Delete the Client
Click Delete. This will prompt a confirmation. - Confirm the Deletion
Click and hold on the red confirmation Delete button. This will delete the client record and the Primary Household Member, and then return you to a blank Staff Dashboard.