
Definition
In PantrySoft, an Exclusive Tag is a tag admins can attach to one or more Inventory Items for one or more Clients. This allows admins to ensure that only specifically-tagged Clients will see certain specifically-tagged items when visiting the Online Portal Storefront.
Examples and Use Cases. In the example featured in the steps below, we'll create a Zip-Authorized tag to pair specific items with specific Clients living in an authorized zip code. Another common use of such tags is to tag certain items as Senior Items and then only permit their distribution to Clients above a certain age.
Setup: Creating an exclusive Tag
Perform the following steps to create a new Item Tag that will serve as an exclusive Tag:
- Open Item Tags
Go to Inventory->Item Tags. - New Tag
Click New Tag. - Make Tag Exclusive
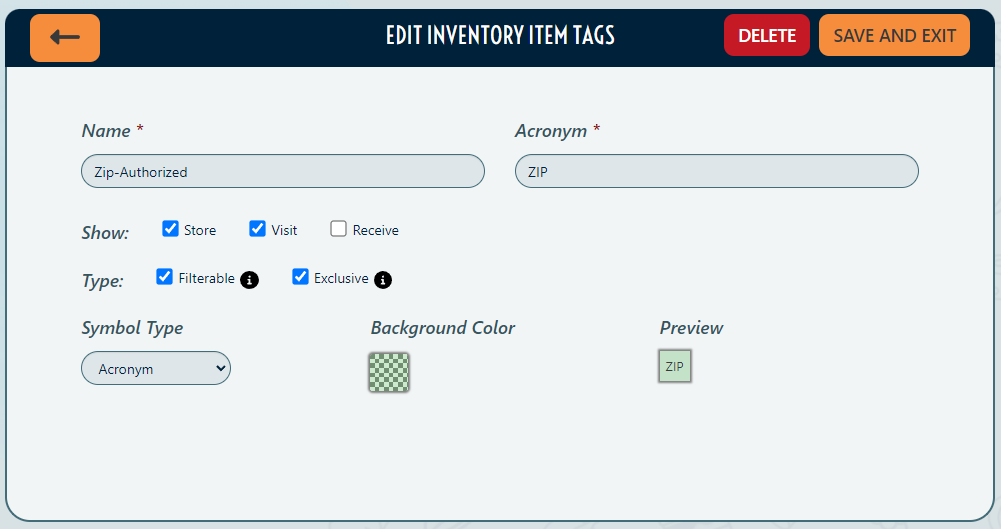
Design the item tag as you normally would, but also click the Exclusive checkbox.
(See the Zip-Authorized Item Tag in the figure above) - Save and Exit
Click Save and Exit.
Setup: Designating an Item Exclusive
Perform the following steps to flag an item with your exclusive Tag:
- Edit Item
Open Inventory->Items. Edit the target item. - Add Tag
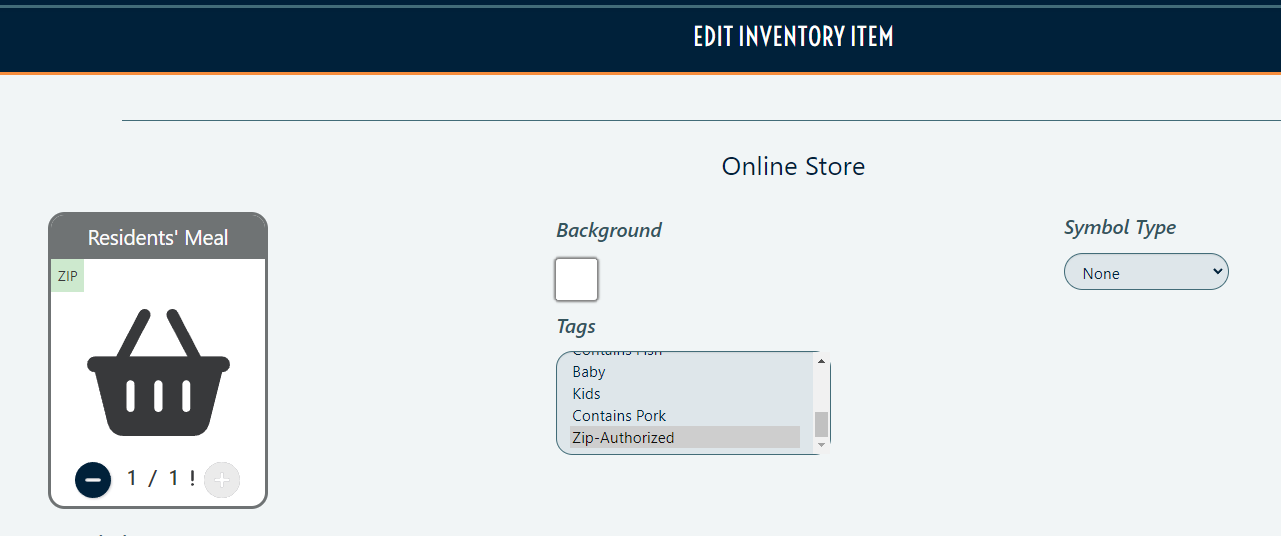
Click on one or more of the new exclusive Tags you've set up before-hand.
(See the Zip Authorized exclusive Tag is selected for the Resident's Meal Inventory Item in the figure above). - Save and Exit
Click Save and Exit.
Setup: White-Listing a Specific Client
Perform the following steps to permit a specific Client to see one or more Exclusive Items (items tagged in the previous step with an exclusive Tag:
- Load a Client
Load a Client into the Dashboard. - Edit Client
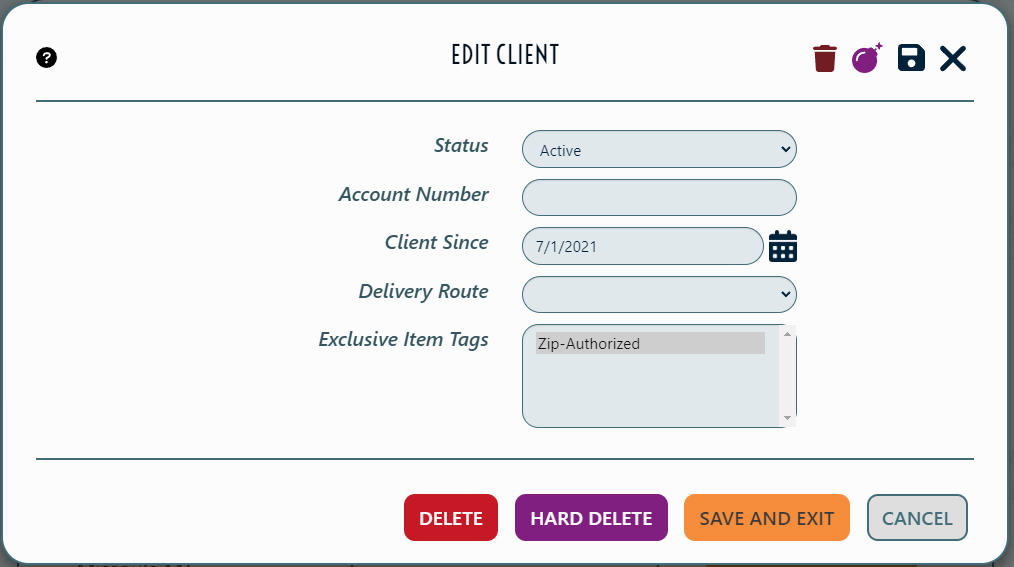
Click on the Edit pencil next to the Client's core information (see Edit Client panel in the figure above). - Tag Client
Grant this Client access to tagged items; choose one or more of your exclusive Tags for the target Client. - Save and Exit
Click Save and Exit.
Performance: exclusive Tags in Action
This portion must be completed by a PantrySoft Support Specialist

Setup Visit Settings
Here is how exclusive Tags work in the Storefront experience:
- Non-Tagged Items. As before, Clients will see all the items not tagged with exclusive Tags.
- White-Listed Exclusive Items. They will also see items tagged with the same exclusive Tags assigned to their Client record.
- Non-Permitted Exclusive Items. They will not see items tagged with exclusive Tags for which they have not been white-listed.
Here is how exclusive Tags work in the Dashboard and Kiosk experiences, depending on which mode PantrySoft staff has set up for you (see the second dropdown setting in the figure above:
- None. Dashboard and Kiosk Visits will not restrict the item list based on exclusive Tags.
- Warn. Dashboard and Kiosk Visits will warn the User when they're about to violate the exclusive of an item (when they're about to add an item restricted from the Visit's Client).
- Enforce. Dashboard and Kiosk Visits will simply omit all items restricted to the Visit's Client.