This article describes how to process online orders with a fulfillment system.
Definition
The PantrySoft fulfillment system works like so:
- Admins enable the Fulfillment setting.
- Visit Items generated in online orders have a default "unfulfilled" status.
- Box packers pull up a Fulfillment report to see all the visits with unfulfilled items.
- Box packers mark each item fulfilled as they pack them for pickup.
- Optionally, box packers print the visit ticket, and attach it to the box / bag.
- When all the items are fulfilled, the visit itself disappears from the report.
Activate the Fulfillment Setting (performed by an Admin User)
First, you're going to enable the fulfillment setting, which will flag all visit items generated by the Client Portal as un-fulfilled. It will also make the Fulfillment Report visible.
- Go to Options in Setup->Storefront Settings.
- Click Yes for Enable Item Fulfillment.
- Click Save and Exit.
Pull Up a Fulfillment Report (performed by Box / Bag Packers)
Next, after a few online orders come in, you're going to view them on the Item Fulfillment Report in Inventory Reports:
- Go to Reporting-> Inventory Reports.
- In the Report Type field, select Visit Fulfillment by Client.
- Choose the date range for the visits you're interested in (probably a Start Date and End Date of the same day, probably for today).
- Click the Hide Fulfilled Items checkbox.
- Click Run Report.
Note: You can print out visit tickets from this screen. First click the checkbox next to each visit record to print, then click the Print Order Tickets button.
Prepare Client Boxes (optional)
Most likely, you'll need to line up boxes or bags or containers to contain the pickup order for each client. Then you'll need to label each container.
If you have PantrySoft connected to a printer, you can activate the ticket feature to print out one ticket for each container, which will have all the current household information for that client:
- Click the print icon next to the visit in question.
- Attach ticket to the client's pickup container.
Fulfill Items from the Report
After running the Fulfillment report, you're looking at all of the visits scheduled for the day you chose, but only those visits with unfulfilled items. If your staff has yet to fulfill any items for the day, this will show you all of the visits. Next, get to packing some items and fulfill them!
From the fulfillment report you can either choose to fulfill an entire client order, or you can fulfill the same item for all of your visiting clients. Below are both use-cases:
Example: Fulfilling One Item for Everybody from the Fulfillment Report
- Physically grab an item from your stores. Say, onions.
- Put the onions in the bag/box of each customer that ordered one.
- Click on all of the onion rows under each order to select that item.
- Click "Fulfill Items" button at the top of the report.
- Report will reload, and no one will have "onions" listed beneath their orders anymore.
Example: Fulfilling One Entire Order from the Fulfillment Report
- Physically grab all of the items for a particular client visit.
- Put them in the physical container assigned to that client for that day.
- Click on the row header. This will select all of the items for that visit.
- Click "Fulfill Items" button at the top of the report.
- Report will reload, and the client order you've just fulfilled will no longer be listed.
Fulfill Items from a Visit Record
You can also fulfill items or monitor their fulfillment directly from a visit record (you might do this if, say, a client arrived and claimed they were short several items they had asked for):
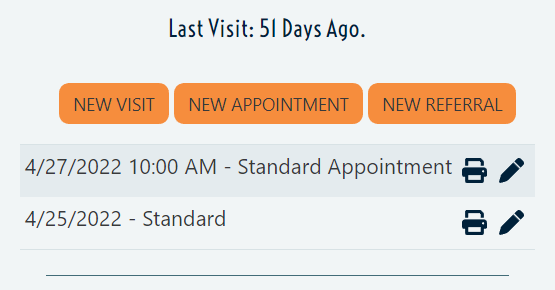
- From the Staff Dashboard, load a client you know has ordered online and has not yet picked up their order.
- Edit the visit representing that online order (they're labeled by day and Visit Type on the Staff Dashboard).
- If your staff has already begun fulfilling the items, you should see that some of the "Fulfilled" checkboxes on the item rows are checked.
- Physically fulfill any items not marked Fulfilled.
- Click the "Fulfilled" box next to each item you fulfill.
- Save and Exit.