
New Features
Assign Item Groups to Household Members on Storefront and Dashboard.
Item Groups can now be assigned to Household Members on Storefront and Dashboard.
Paid Feature: Item Groups are an Advanced Inventory feature. Please contact support@pantrysoft.com if you'd like to use this feature and don't yet have it activated in your installation.
How to access for Storefront Assignment:
Ensure Household Member Assignment settings are enabled.
Setup > Storefront Settings > Assign Items to Household Members
![]()
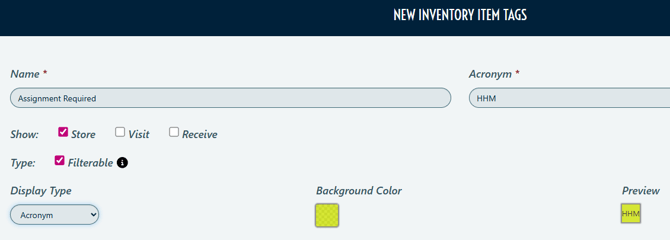
You must assign Item Tag titled "Assignment Required" to any Item in the Group to be able to assign Item Groups to Household Members on Storefront.
Inventory > Item Tags > New Inventory Item Tags > Create "Assignment Required" Item Tag > Assign to an Item in the Group
Notes:
Item Tag must be titled "Assignment Required"
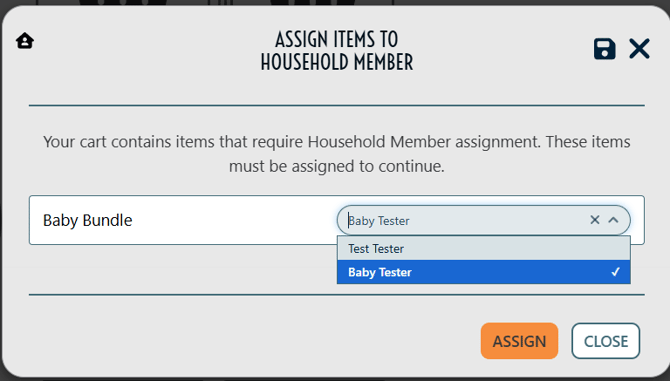
- Add Item Group to your cart
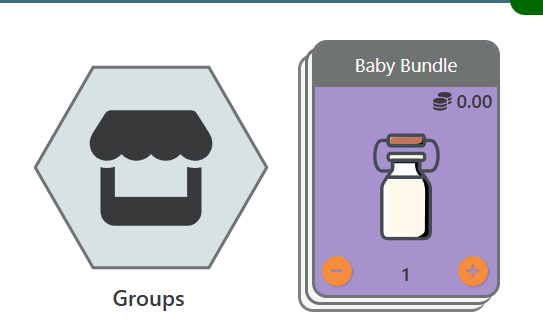
- At Checkout, Clients will be prompted to Assign Items to Household Member
How to access for Dashboard Assignment:
Ensure Household Member Assignment settings are enabled.
Setup > Inventory Settings > Show Household Member on Dropdown
![]()
You must assign Item Tag titled "Assignment Required" to any Item in the Group to be able to assign Item Groups to Household Members on Storefront.
Inventory > Item Tags > New Inventory Item Tags > Create "Assignment Required" Item Tag > Assign to an Item in the Group
Notes:
Item Tag must be titled "Assignment Required"
Details:
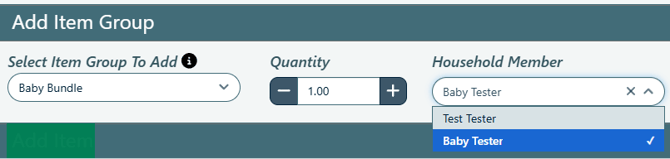
- Log a New Visit for a Client
- Add Item Group and Assign Household Member
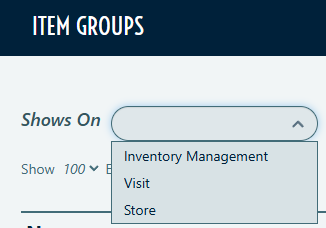
Show on Store filter Inventory Groups
New filter on Item Groups to show Groups showing on Storefront.
How to access:
Inventory > Item Groups
Client Status Change on Registration expiration
New settings have been added to allow Users to connect Client Status to Registration Frequency Rules. These settings will automatically change Client Status when Registration expires.
How to access:
Setup > Registration Settings > Change Client Status on Registration Expiration
![]()
Details:
- A minimum of three Client Statuses must exist in the Registration Frequency Rule.
- Make a new Registration Frequency, or edit an existing Rule.
- Change the Client Status dropdown from "All" to a single specific status, such as "Active"
- The Expired Client Status dropdown appears below the Client Status field.
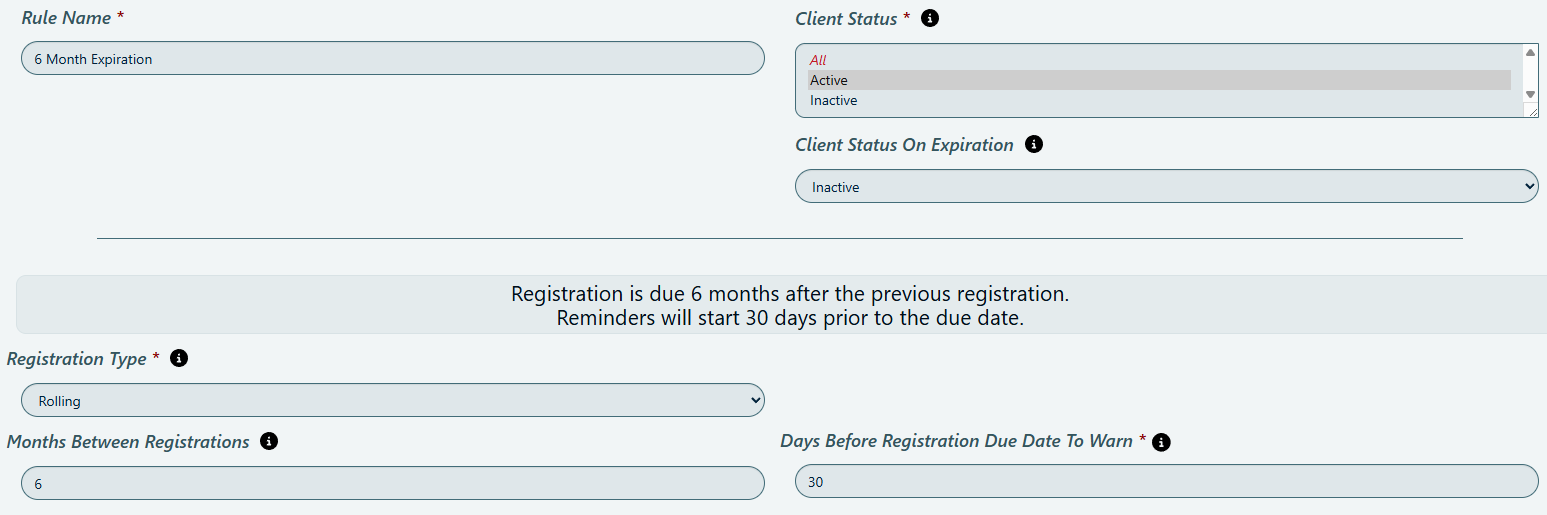
- Build your Registration Frequency Rule and hit Save and Exit.
- When a Client's Registration expires based on your Registration Frequency Rule, Client Status will automatically change based on Status change set in Rule. Status will revert back when an active Registration is created.
Notes:
If a current Registration is deleted, Client's status automatically changes to the Client Status set on Expiration.